

Why a Full Calibration Matters on a New 3D Printer.
Why a Full Calibration Matters on a New 3D Printer: Get your setup right with OrcaSlicer
Introduction
If you recently bought a new 3D printer, there’s a good chance the manufacturer recommended using its own stock slicer software. And honestly, that makes sense at first. Manufacturer slicers are usually designed to get beginners printing quickly with minimal setup.
But many users eventually move to OrcaSlicer because they want more control, better calibration tools, faster print optimization, and higher-quality results.
The problem is that switching slicers can feel intimidating.
You may already be wondering:
- “Why don’t my prints look the same anymore?”
- “Why is OrcaSlicer asking for calibration?”
- “Shouldn’t a brand-new printer already be tuned?”
- “Why does everyone keep talking about flow rate and pressure advance?”
These are completely normal frustrations.
Most stock slicers hide advanced tuning settings in favor of simplicity, while OrcaSlicer is built around extracting the best possible performance from your printer. That means calibration becomes far more important — especially on a new machine.
The good news is that once you complete a proper calibration workflow, OrcaSlicer can dramatically improve:
- Print quality
- Reliability
- Surface finish
- Dimensional accuracy
- Speed performance
- Material consistency
And in many cases, the difference is immediately noticeable.
That’s why a full calibration should be one of the very first things you do after setting up a new 3D printer.
Getting a new 3D printer is exciting. Whether you just unboxed a high-speed CoreXY machine or your first beginner-friendly bed slinger, the temptation is always the same: load filament, hit print, and hope for the best.
But skipping a full calibration process is one of the biggest mistakes new users make.
Even premium printers benefit from proper tuning, and if you want cleaner surfaces, dimensional accuracy, stronger parts, and reliable first layers, a complete calibration routine inside OrcaSlicer is essential.
This guide explains the most important reasons to fully calibrate a new 3D printer and why OrcaSlicer provides one of the best workflows for achieving professional-quality results.
You can find OrcaSlicer’s calibration guide here: https://github.com/OrcaSlicer/OrcaSlicer/wiki/calibration_guide
What Is a Full 3D Printer Calibration?
A full calibration process means tuning both the printer hardware and slicer settings so the machine prints accurately and consistently.
In OrcaSlicer, this typically includes:
- Flow rate calibration
- Pressure advance calibration
- Temperature tuning
- Retraction tuning
- Input shaping verification
- Bed leveling validation
- First layer calibration
- Volumetric speed testing
- Dimensional accuracy tuning
These calibrations help your printer match real-world print behavior instead of relying on factory defaults.
Factory Settings Are Rarely Perfect
Many users assume preconfigured profiles are enough.
They are not.
Even printers from the same production line can behave differently due to:
- Belt tension variations
- Extruder tolerances
- Hotend inconsistencies
- Frame alignment
- Different firmware versions
- Environmental conditions
- Filament moisture and quality
A profile that works perfectly for one printer may produce poor results on another.
This is why calibration matters.
1. Improve First Layer Reliability
The first layer determines whether a print succeeds or fails.
Without calibration, common problems include:
- Poor bed adhesion
- Elephant foot
- Uneven extrusion
- Gaps between lines
- Nozzle dragging
- Warped corners
Using OrcaSlicer’s first-layer and flow calibration tools helps establish proper nozzle height and extrusion consistency.
A properly calibrated first layer leads to:
- Better print success rates
- Reduced warping
- Cleaner bottom surfaces
- More consistent large prints
For many users, this alone justifies the calibration process.
2. Eliminate Over-Extrusion and Under-Extrusion
Incorrect flow rate settings create major print quality problems.
Over-extrusion causes:
- Blobs
- Rounded corners
- Surface artifacts
- Poor dimensional accuracy
Under-extrusion causes:
- Weak layers
- Gaps
- Fragile parts
- Inconsistent walls
OrcaSlicer includes built-in flow calibration tests that help fine-tune extrusion multipliers for each filament type.
This produces:
- Smoother walls
- Stronger prints
- Better tolerances
- More accurate dimensions
3. Pressure Advance Dramatically Improves Corners
Pressure advance is one of the most important modern calibrations.
When a printer changes speed, pressure inside the nozzle changes too. Without tuning, this causes:
- Bulging corners
- Ringing
- Uneven extrusion
- Surface inconsistencies
Pressure advance calibration in OrcaSlicer compensates for nozzle pressure changes during acceleration and deceleration.
The result:
- Sharper corners
- Cleaner seams
- Better detail quality
- Improved surface finish
This is especially important on fast printers running Klipper firmware.
4. Temperature Calibration Prevents Multiple Print Defects
Every filament brand behaves differently.
Even two rolls of the same material can require different temperatures.
Incorrect temperatures can cause:
- Weak layer adhesion
- Excessive stringing
- Gloss inconsistencies
- Poor bridging
- Clogs
- Surface roughness
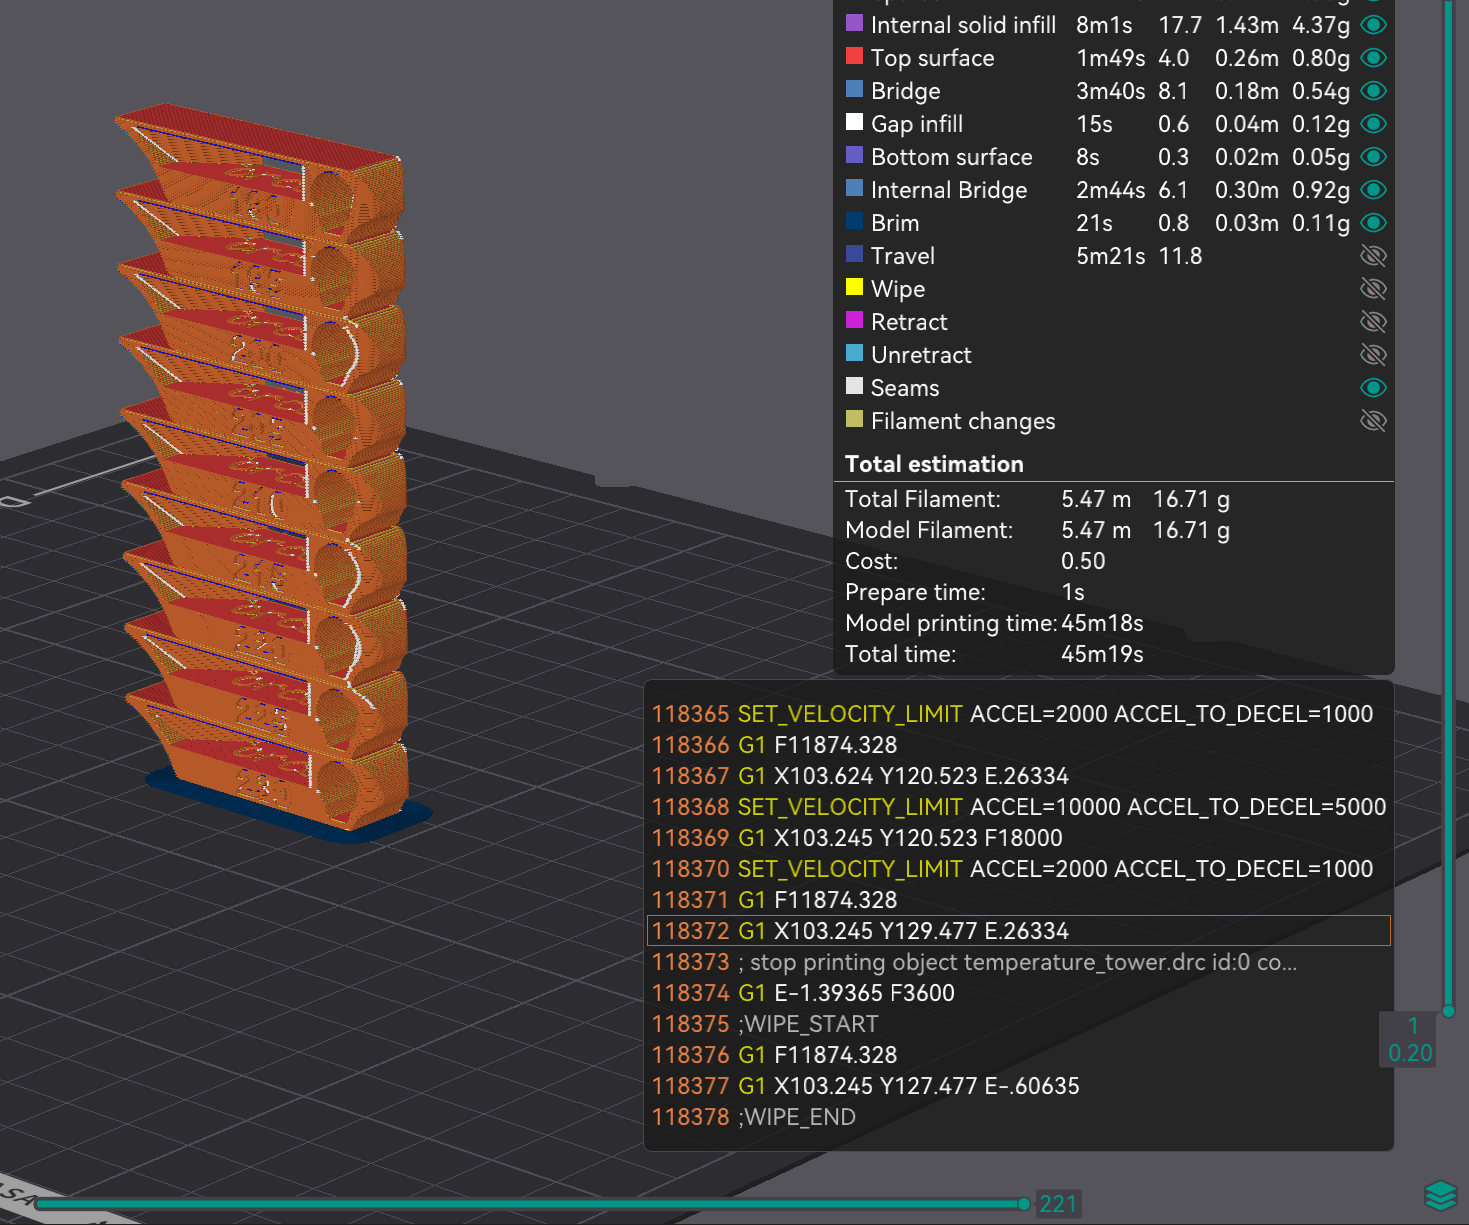
Running temperature towers in OrcaSlicer helps identify the optimal nozzle temperature for each filament.
This improves:
- Print strength
- Surface finish
- Bridging performance
- Retraction behavior
5. Retraction Tuning Reduces Stringing
Stringing ruins otherwise clean prints.
Improper retraction settings create:
- Fine hairs
- Blobs between travel moves
- Surface contamination
- Nozzle buildup
Retraction calibration helps determine:
- Retraction distance
- Retraction speed
- Travel optimization
Once tuned correctly, prints become significantly cleaner and require less post-processing.
6. Calibration Maximizes Print Speed Safely
Modern 3D printers advertise extremely high print speeds, but factory profiles often prioritize safety over optimization.
Without calibration:
- Quality drops at higher speeds
- Extrusion becomes inconsistent
- Ringing increases
- Layer adhesion weakens
OrcaSlicer’s volumetric flow and speed calibration tools help determine the true performance limits of your setup.
This allows users to:
- Print faster without losing quality
- Avoid skipped extrusion
- Prevent overheating issues
- Optimize acceleration settings
7. Better Dimensional Accuracy for Functional Parts
If you print mechanical or functional parts, calibration is critical.
Small inaccuracies can make parts:
- Too tight
- Too loose
- Impossible to assemble
Flow calibration and dimensional testing help ensure:
- Accurate holes
- Correct tolerances
- Reliable fitment
- Consistent scaling
This matters for:
- Electronics enclosures
- Mechanical assemblies
- RC parts
- Tooling
- Threaded components
8. Reduce Print Failures and Wasted Filament
Failed prints waste:
- Time
- Filament
- Electricity
- Patience
Calibration significantly improves print reliability.
A tuned printer experiences fewer:
- Layer shifts
- Adhesion failures
- Heat creep issues
- Extrusion inconsistencies
- Surface defects
Over time, calibration actually saves money by reducing wasted material and failed projects.
9. Every Filament Type Needs Different Settings
PLA, PETG, ABS, ASA, TPU, and Nylon all behave differently.
Even different colors can print differently because pigments affect thermal behavior.
OrcaSlicer allows users to create material-specific profiles with customized:
- Temperatures
- Flow rates
- Pressure advance values
- Cooling settings
- Retraction settings
This creates highly repeatable print quality across multiple materials.
10. OrcaSlicer Makes Calibration Easier Than Ever
One reason OrcaSlicer has become so popular is its integrated calibration suite.
Instead of downloading separate models and manually adjusting settings, users can access:
- Built-in calibration tests
- Automated workflows
- Visual comparison tools
- Material profile management
- Advanced speed tuning
This dramatically simplifies the calibration process for beginners while still offering advanced controls for experienced users.
The Long-Term Benefits of Proper Calibration
A fully calibrated printer delivers:
- Higher quality prints
- Faster print speeds
- Better reliability
- Cleaner surfaces
- Stronger parts
- More accurate dimensions
- Reduced maintenance
- Less wasted filament
Most importantly, calibration transforms 3D printing from a frustrating hobby into a dependable manufacturing tool.
Recommended OrcaSlicer Calibration Order
For best results, calibrate in this order:
- Mechanical inspection
- Bed leveling
- First layer tuning
- Temperature calibration
- Flow rate calibration
- Pressure advance calibration
- Retraction calibration
- Maximum volumetric flow test
- Dimensional accuracy testing
- Speed optimization
Following this sequence prevents overlapping issues and produces more accurate results.
Final Thoughts
A new 3D printer is only as good as its calibration.
Even the best hardware cannot compensate for un-tuned extrusion, incorrect temperatures, or poor slicer settings.
Using OrcaSlicer’s built-in calibration tools helps unlock the full potential of your machine by improving quality, speed, consistency, and reliability.
Whether you are printing decorative models, engineering prototypes, cosplay parts, or functional mechanical components, performing a full calibration should always be the first step after unboxing a new printer.